Swivel feeders are popular amongst bird breeders and keepers as it allows easy feeding and cleaning with minimum disruption to the bird/s.
Once you purchase a swivel feeder from us here at the bird nest, it’s really easy to install.
Below are the simple steps you need to follow in order to install your swivel feeder.
The first MOST IMPORTANT RULE is – do not cut into your cage wire until your swivel feeder has arrived and you can double check measurements.
Step 1
Purchase your swivel feeder from thebirdnest.com.au

Step 2
Gather your tools and resources:
- Phillips head screwdriver
- Spanner or shifter
- Wire cutters
- Tape measure

Step 3
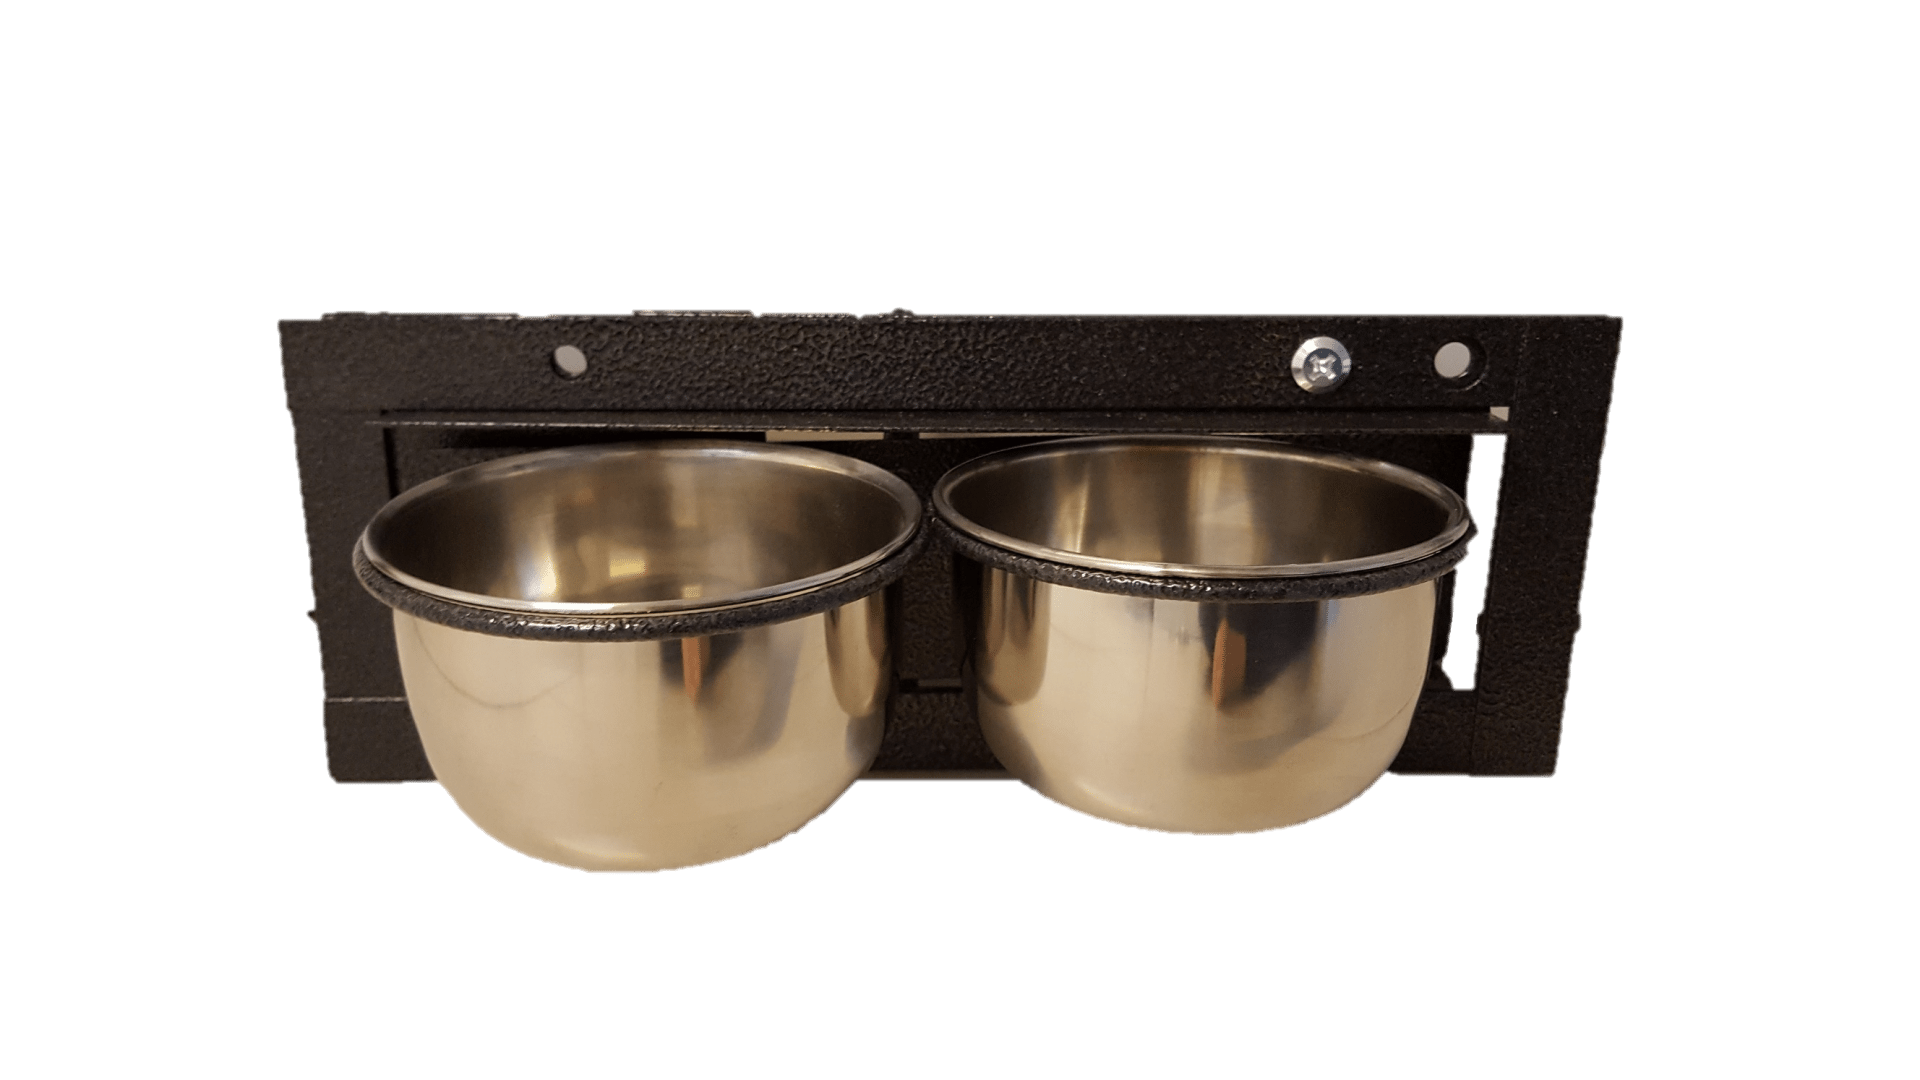
Measure the inside of the bracket as per below (ensure you measure each unit as sizes may vary):

Step 4
Cut the wire to the dimensions that you have just measured.

Step 5
Place the unit with the bowls on the OUTSIDE of the aviary. Place the single bracket on the INSIDE of the aviary. Insert all nuts and bolts and screw together.
Wallah….you’re done! How easy was that?
Purchase your swivel feeder here.
Happy feeding xx